Nashville and Middle Tennessee Remediation and Sanitation:
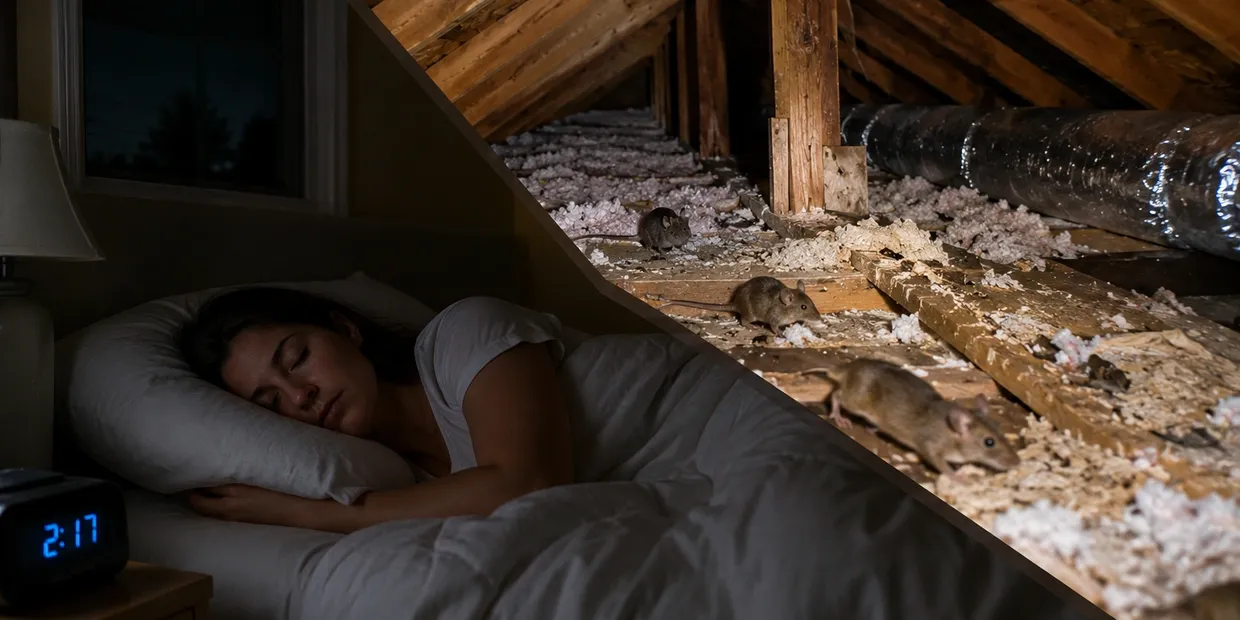
If wildlife has inhabited the attic or the crawl space of your home or building, restoration is an important part of a complete wildlife control solution. Restoration basically means restoring your attic or crawl space to the good, clean condition it was in before wildlife decided to move in and make a mess of things. Animals in attics or crawl spaces can cause the following problems:
- Lots of poop and urine in the insulation
- Nesting material and food debris
- Odor problems inside the home or HVAC system
- Growth of mold on contaminated areas
- Parasites, roundworm, and other pathogens
- Pheromone scent that can attract new wildlife
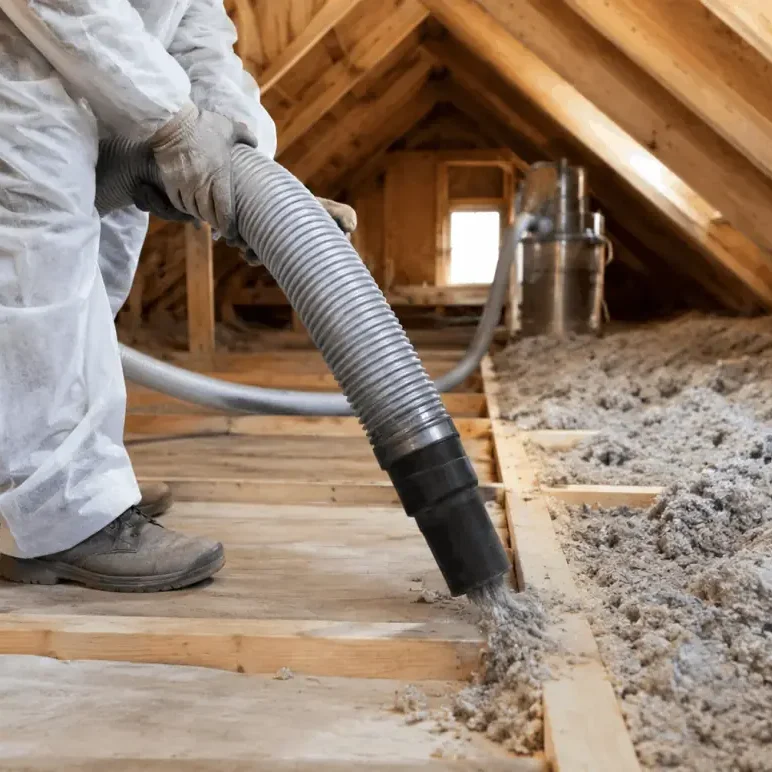
So it's important to address these problems by cleaning, decontaminating, and restoring the attic and/or crawl space to its original state. This is done through several steps. The proper training and equipment is required, such as a HEPA filter mask and biohazard suit, as seen to the right.
Restoration can be quick and cheap, or intensive and expensive, depending on the amount that needs to be cleaned. Homeowner's insurance may cover the cost. Learn More >
Why Hire Trapper Jack
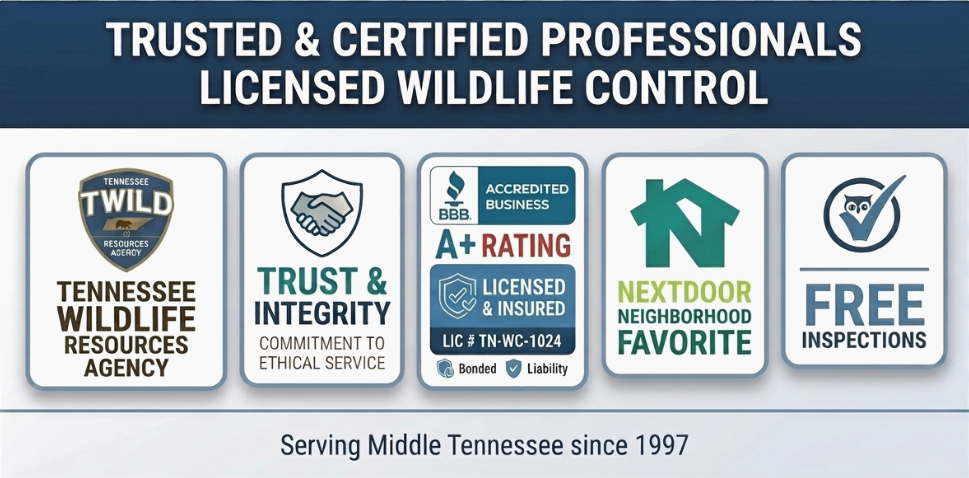
Trapper Jack Wildlife Specialist has been providing Wildlife Services to the residents and businesses in Nashville and Middle Tennessee since 1997. With over 100 million verified neighbors across 345,000+ neighborhoods, Nextdoor user have voted Trapper Jack Wildlife Specialist their Neighborhood Favorite for the past 5 years! Trapper Jack Wildlife Specialist is Accredited with the Better Business Bureau and has maintained an A+ Rating since it's inception. Trapper Jack Wildlife Specialist is Rated 4.8/5 on Google, with countless positive reviews.
Just ask around...Trapper Jack Wildlife Specialist is a Name You Can Trust and a Name You Can Recognize!
Wildlife that’s found its way into your home or property is a nuisance that you can’t afford not to get rid of. Unwanted animals can damage your property in ways that you may not know how to repair. Trapper Jack Wildlife Specialist offers full-service wildlife removal in Middle, TN. Rely on us to take care of animal removal for your home as soon as you need us. Learn More >
You want to rely on a company that has experience in their industry. Our technicians have been with us for years. Trapper Jack Wildlife Specialist was established in 1997 and has over 29 years of experience removing nuisance animals from people’s homes and properties. Whether they’ve burrowed underneath your home or taken over your attic, we have the knowledge and skill necessary to remove the animals.
You don’t always have time to wait to get rid of unwanted wildlife. Trapper Jack Wildlife Specialist offers same-day service for the times you just can’t wait. We also offer emergency services. If an animal is terrorizing your home, give us a call today.
We’re so certain of our skills that we guarantee that the animals that entered your home won’t come back. After we’ve repaired the wildlife damage, sealed ALL recommended-potential entry and restored your home, the wildlife won’t be able to get back inside. Once repairs and exclusion work has been performed by Trapper Jack Wildlife Specialist; we then offer a Warranty against future wildlife related problems. Call on us today to get started with the removal. Your Satisfaction is Our Priority. Schedule your Free inspection Today!
We are properly licensed and permitted through the Tennessee Wildlife Resources Agency and insured with liability, auto and workers comp. This means you can hire us with complete peace of mind. Give us a call at 615.469.6000

Why Wildlife Remediation is Essential
Even after animals are removed, your property may still face lingering issues:
-
Contaminated insulation and ductwork filled with droppings, urine, and nesting debris.
-
Lingering odors from animal waste or decomposing material.
-
Parasite and bacteria exposure from feces, fur, and nesting sites.
-
Structural damage to drywall, roofing, HVAC systems, and electrical wiring.
Proper remediation not only improves air quality and safety—it helps prevent future infestations by removing scent trails and attractants.
Our Wildlife Remediation Process
We begin with a full inspection to identify:
- Areas contaminated by animal waste or nesting materials.
- Damaged insulation, drywall, wiring, or HVAC components.
- Biohazards that pose health and safety risks to occupants.
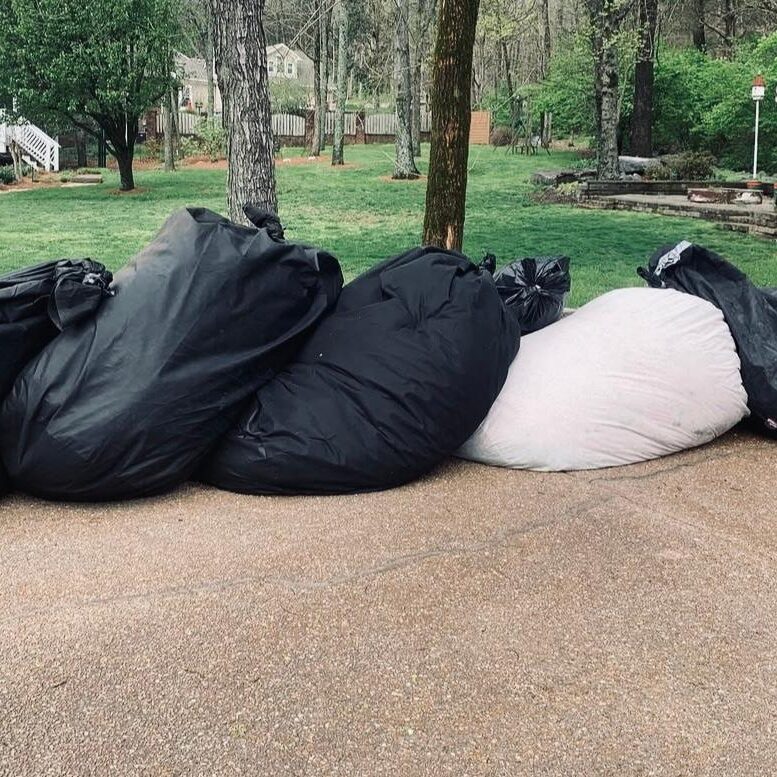
- Remove soiled insulation, feces, urine, and debris.
- Apply EPA-approved disinfectants and odor neutralizers.
- Treat the area for parasites, such as fleas, ticks, or mites.
Step 3
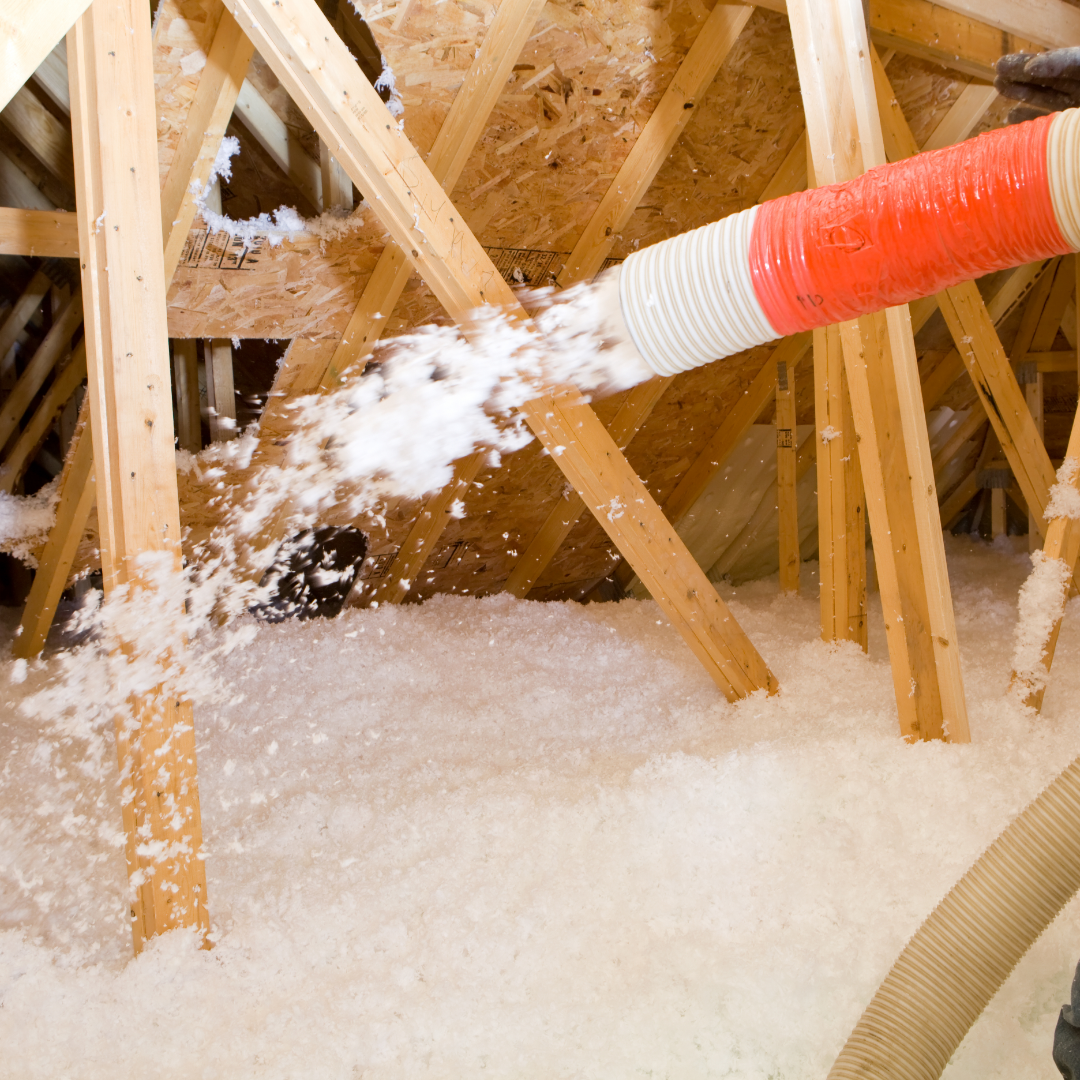
- Replace insulation, seal chewed openings, and repair ductwork.
- Restore damaged walls, roofing, or entry points.
- Wildlife-proof the space to prevent future reentry.
Why Choose Trapper Jack Wildlife Specialist for Attic Remediation?
Let us show you...
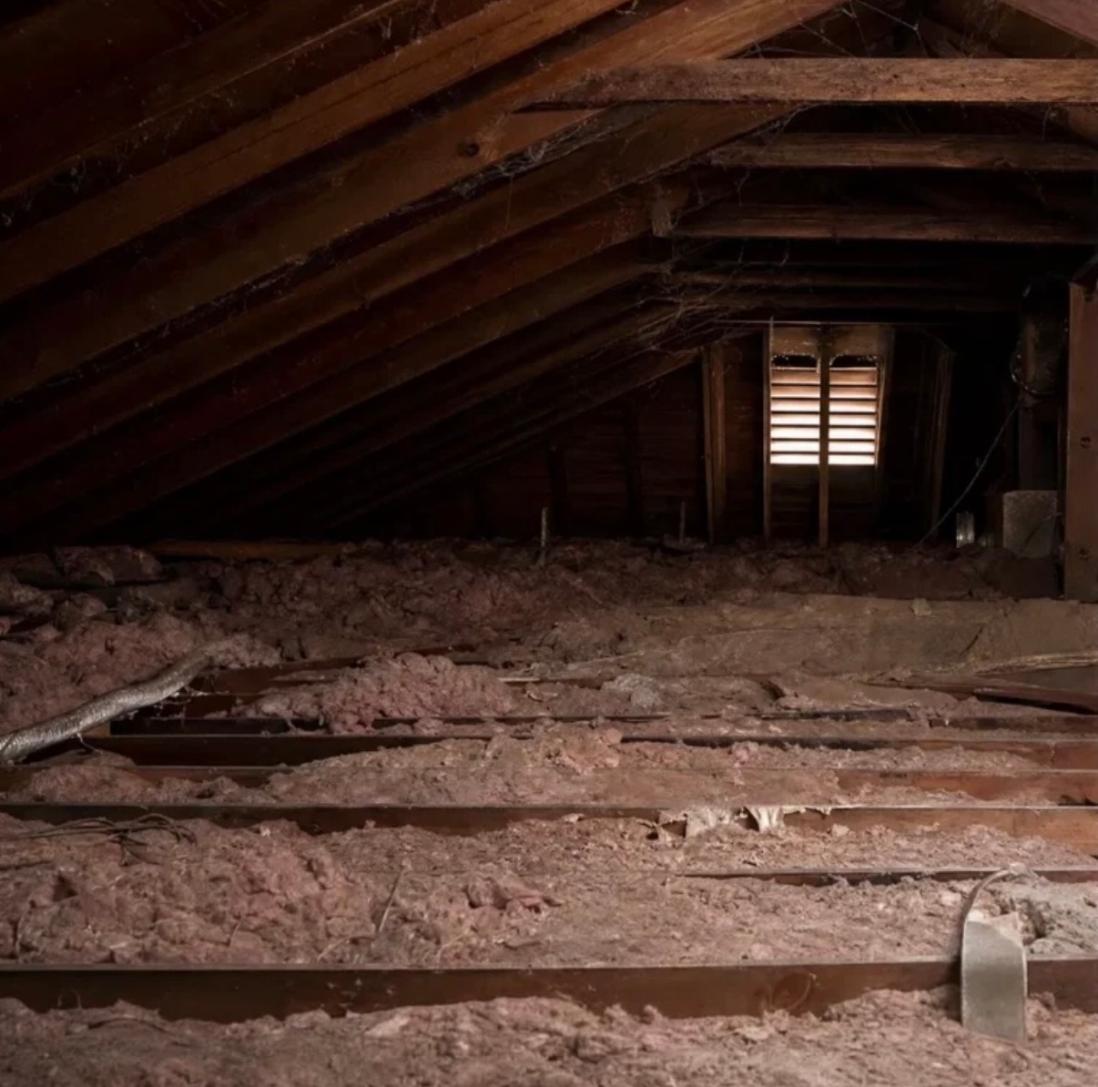
Before
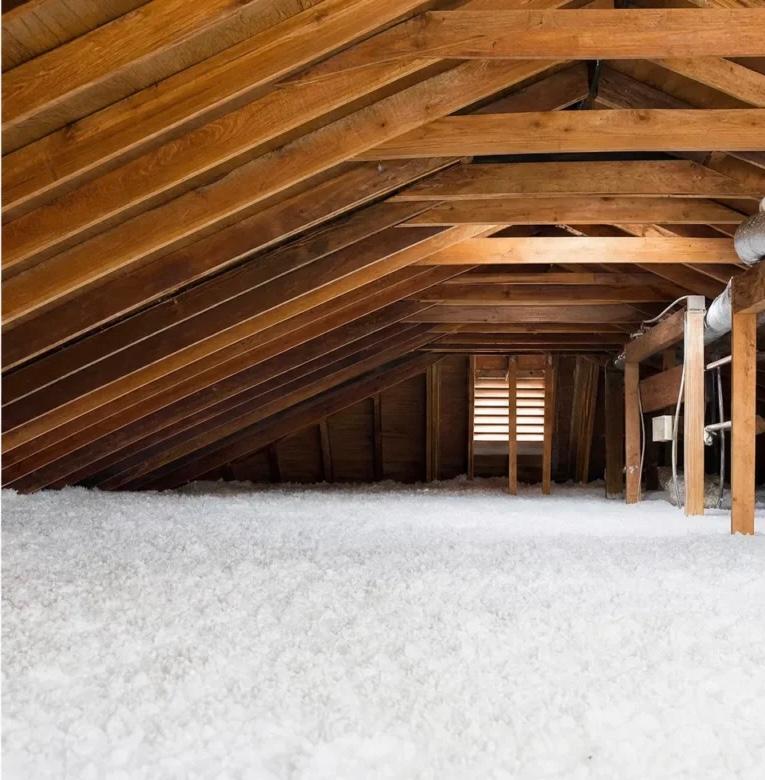
After
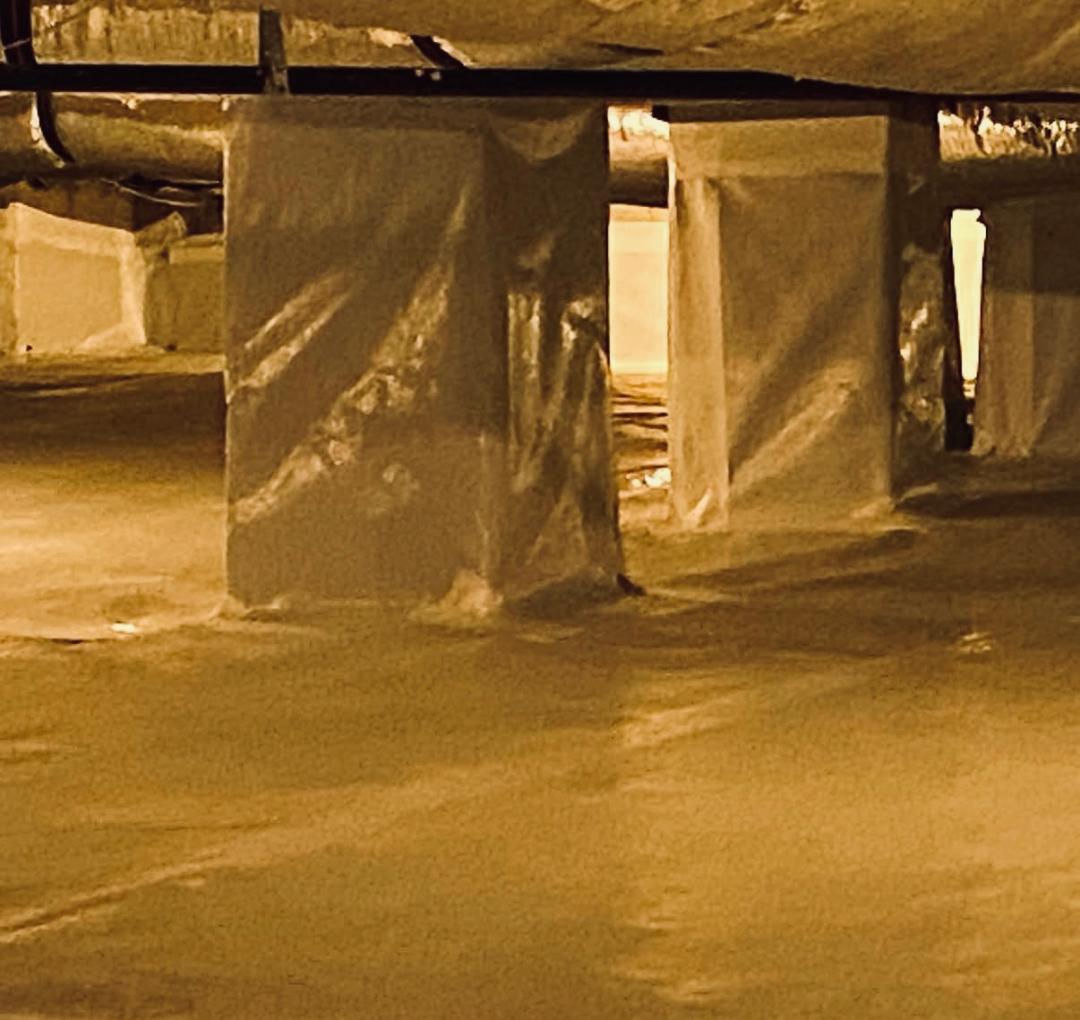
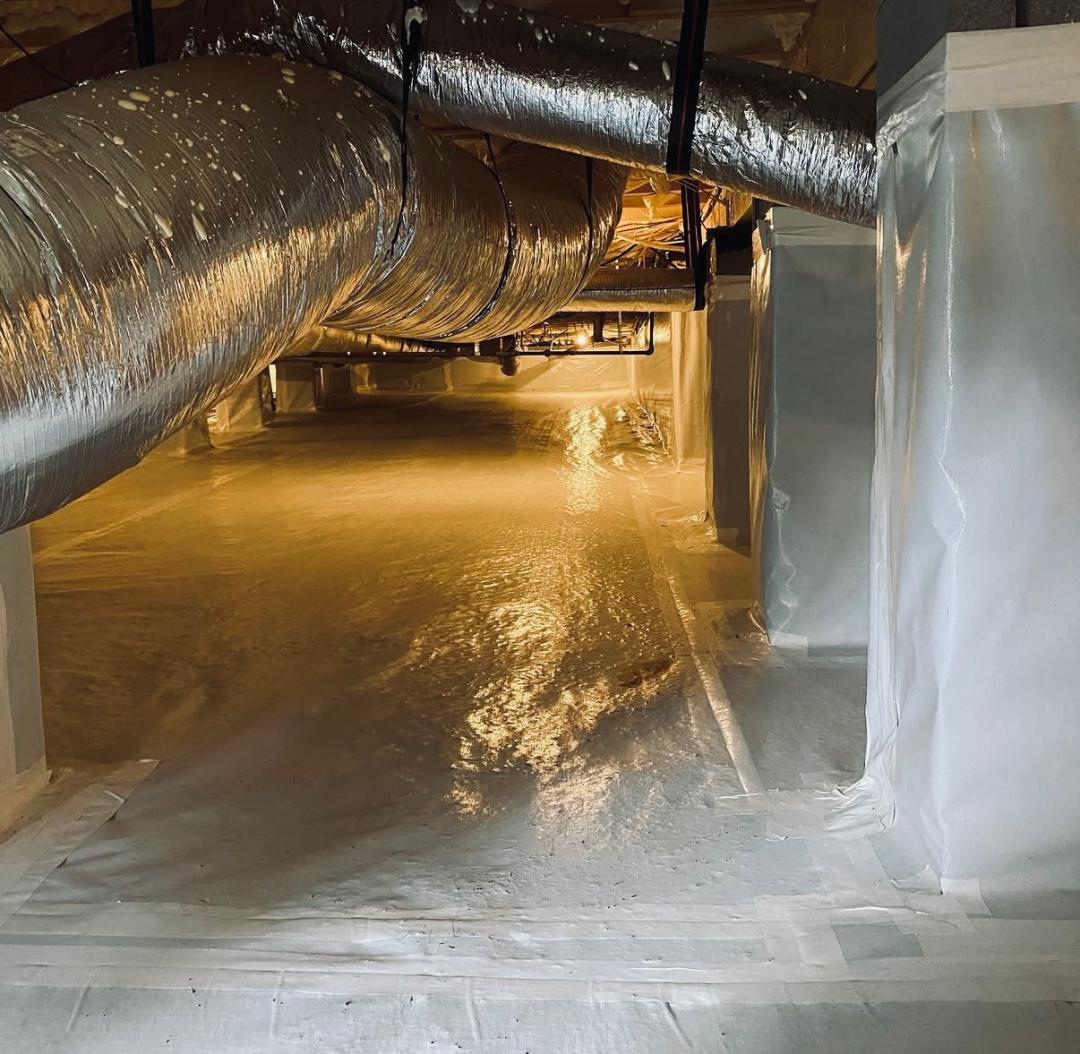
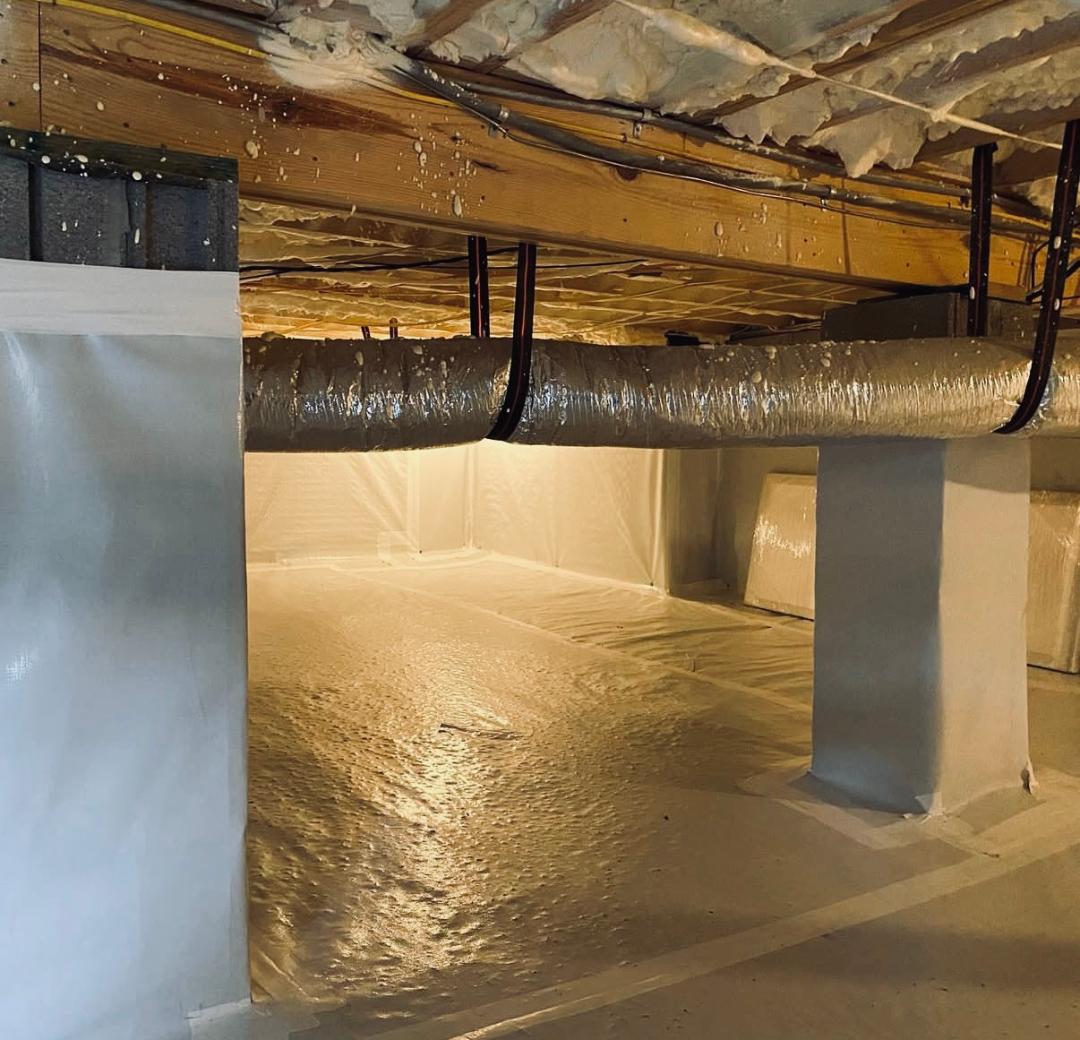
Crawlspace Remediation, Sanitation and Restoration
We also offer complete removal of all insulation and vapor barriers. This requires special removal and re-insulation equipment for your attic space and removal of vapor barriers (if present) and the reinstallation of vapor barriers once the area has been thoroughly cleaned and disinfected in your crawl space.
The area is fogged via a special electric-powered atomizing mist machine, which dispenses the special enzyme-based biohazard cleaner. This special cleaner destroys organic matter specifically, without affecting the structure. It kills the pathogens and breaks down urine, grease, and animal poop, effectively "digesting" it with time. It renders the waste inert, and importantly, eliminates the pheromone odor left behind by the animals. It's very important to get rid of the animal smell, because the scent of animals living in an area can attract new animals of the same kind, or even predator animals. Schedule Your Free Inspection! Learn More >
Why Choose Trapper Jack Wildlife Specialist for Crawlspace Remediation?
Let us show you...
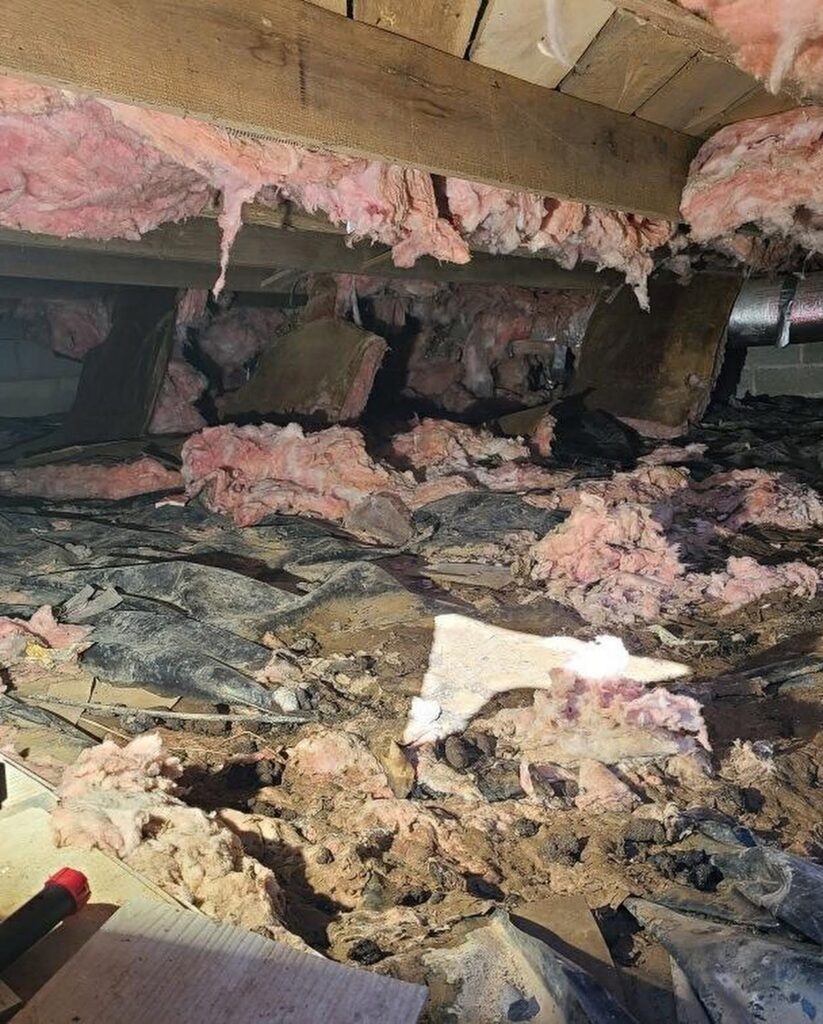
Before
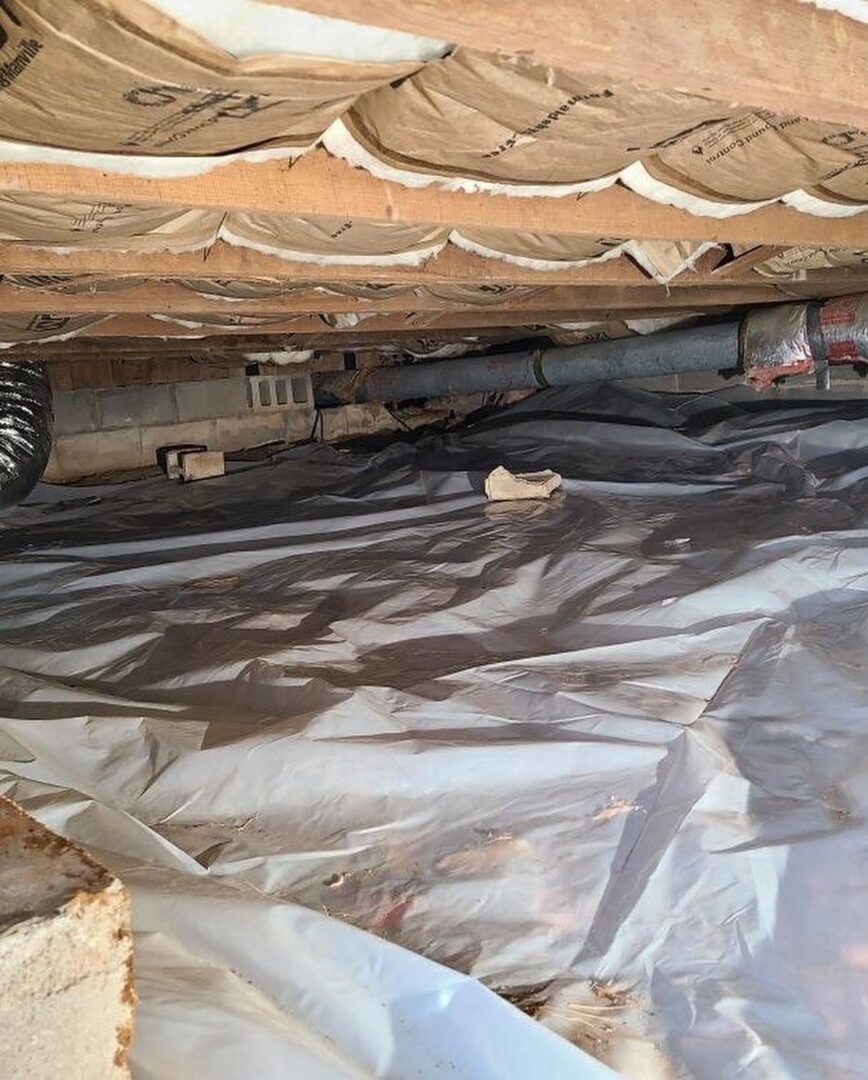
After
Customers Say It Best









Frequently Asked Questions (FAQs) - Wildlife Remediation
What is wildlife remediation?
Wildlife remediation involves cleaning, disinfecting, and repairing areas affected by animals after removal. It eliminates contamination and restores property integrity.
Why can't I clean it myself?
Wildlife waste carries dangerous pathogens. Improper cleanup can spread airborne diseases and may violate health codes. We use professional-grade sanitizers and protective protocols.
Do you replace insulation and building materials?
Yes. We remove and replace contaminated insulation, damaged drywall, ductwork, and other affected materials.
Does insurance cover wildlife remediation?
In many cases, yes—especially if damage is sudden and documented. We can help provide inspection reports for insurance claims.
How long does the remediation process take?
Depending on the extent of the damage, most remediation jobs are completed within 1–3 days. Larger or commercial properties may take longer.